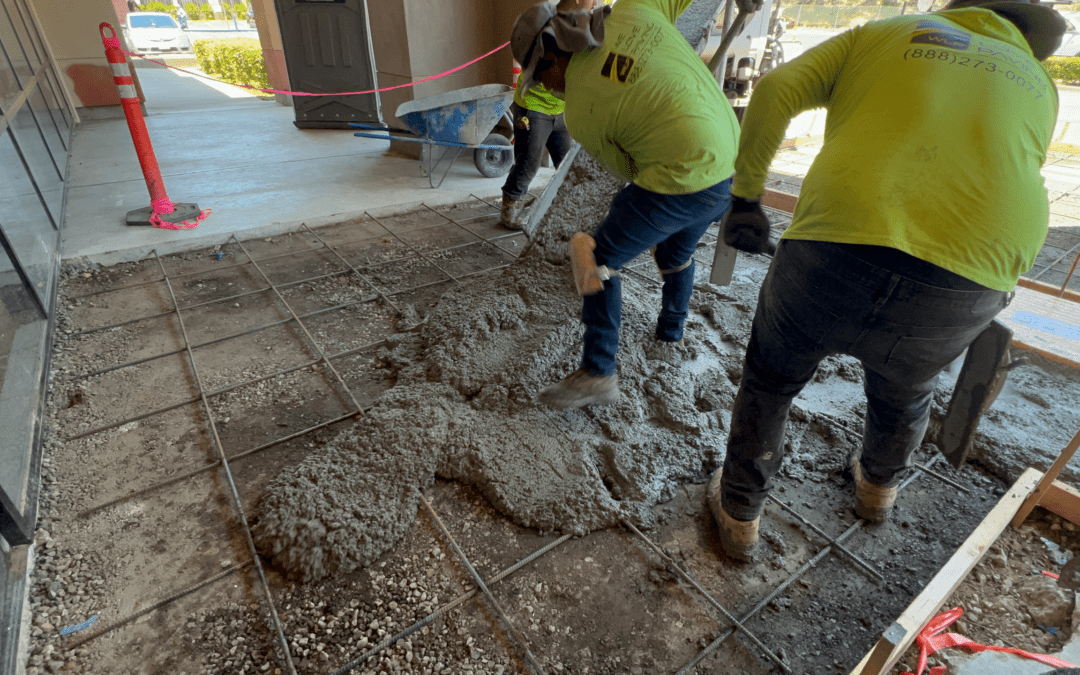
A crumbling concrete driveway can be an eyesore and a potential hazard. Over time, weather, heavy use, and other factors can cause concrete to deteriorate, leading to cracks, potholes, and surface degradation. Fortunately, with the right materials and techniques, you can restore your driveway to its former glory. This guide will take you through the steps needed to fix a crumbling concrete driveway.
Understanding the Causes
Before diving into the repair process, it’s important to understand what causes concrete to crumble. Common causes include:
- Freeze-Thaw Cycles: Water seeping into cracks can freeze and expand, causing the concrete to break apart.
- Poor Installation: Improperly mixed or poorly installed concrete can lead to early deterioration.
- Heavy Loads: Consistent exposure to heavy vehicles can stress the concrete beyond its limits.
- Water Damage: Prolonged exposure to water can erode the surface and weaken the structure.
- Chemical Exposure: De-icing salts and other chemicals can cause concrete to degrade over time.
Tools and Materials Needed
To repair a crumbling concrete driveway, you will need the following tools and materials:
- Concrete mix or resurfacer
- Concrete bonding agent
- Chisel and hammer
- Wire brush
- Pressure washer or garden hose
- Trowel
- Mixing bucket
- Safety gear (gloves, safety glasses, mask)
Step-by-Step Guide to Repairing a Crumbling Concrete Driveway
1. Assess the Damage
Start by assessing the extent of the damage. If the crumbling is limited to the surface, resurfacing may be sufficient. For deeper damage or large cracks, more extensive repairs will be necessary.
2. Clean the Driveway
Thoroughly clean the driveway to remove dirt, debris, and any loose concrete. Use a pressure washer or a garden hose with a strong spray nozzle. Allow the driveway to dry completely before proceeding.
3. Remove Loose Concrete
Use a chisel and hammer to remove any loose or crumbling concrete. Make sure to clear away all debris from the damaged area. This step is crucial to ensure a solid base for the repair material.
4. Apply a Concrete Bonding Agent
Apply a concrete bonding agent to the cleaned and prepared area. This will help the new concrete adhere to the old surface. Follow the manufacturer’s instructions for application and drying times.
5. Mix the Concrete
Prepare the concrete mix or resurfacer according to the manufacturer’s instructions. It’s important to get the consistency right for a durable repair. Typically, the mix should be smooth and free of lumps.
6. Apply the Concrete
Using a trowel, apply the concrete mix to the damaged areas. For deep cracks or holes, you may need to fill them in layers, allowing each layer to dry before applying the next. Smooth the surface with the trowel, making sure to blend the edges with the surrounding concrete.
7. Cure the Concrete
Allow the concrete to cure according to the manufacturer’s instructions. This usually involves keeping the surface moist and protected from direct sunlight for several days. Proper curing is essential for a strong and durable repair.
8. Seal the Driveway
Once the concrete has fully cured, apply a concrete sealer to protect the surface from future damage. Sealing the driveway will help prevent water penetration, reduce the effects of freeze-thaw cycles, and protect against chemical exposure.
Tips for Maintaining Your Driveway
After repairing your driveway, proper maintenance is key to prolonging its lifespan. Here are some tips to keep your driveway in good condition:
- Regular Cleaning: Keep your driveway clean by removing debris, dirt, and stains regularly.
- Seal Cracks: Address small cracks as soon as they appear to prevent them from expanding.
- Avoid Harsh Chemicals: Minimize the use of de-icing salts and other harsh chemicals that can damage the concrete.
- Proper Drainage: Ensure that water drains away from your driveway to prevent pooling and water damage.
- Limit Heavy Loads: Avoid parking heavy vehicles on the driveway for extended periods.
Conclusion
Fixing a crumbling concrete driveway may seem daunting, but with the right tools, materials, and techniques, it is a manageable DIY project. By following the steps outlined in this guide, you can restore your driveway’s appearance and functionality, ensuring it remains a safe and attractive part of your property.

