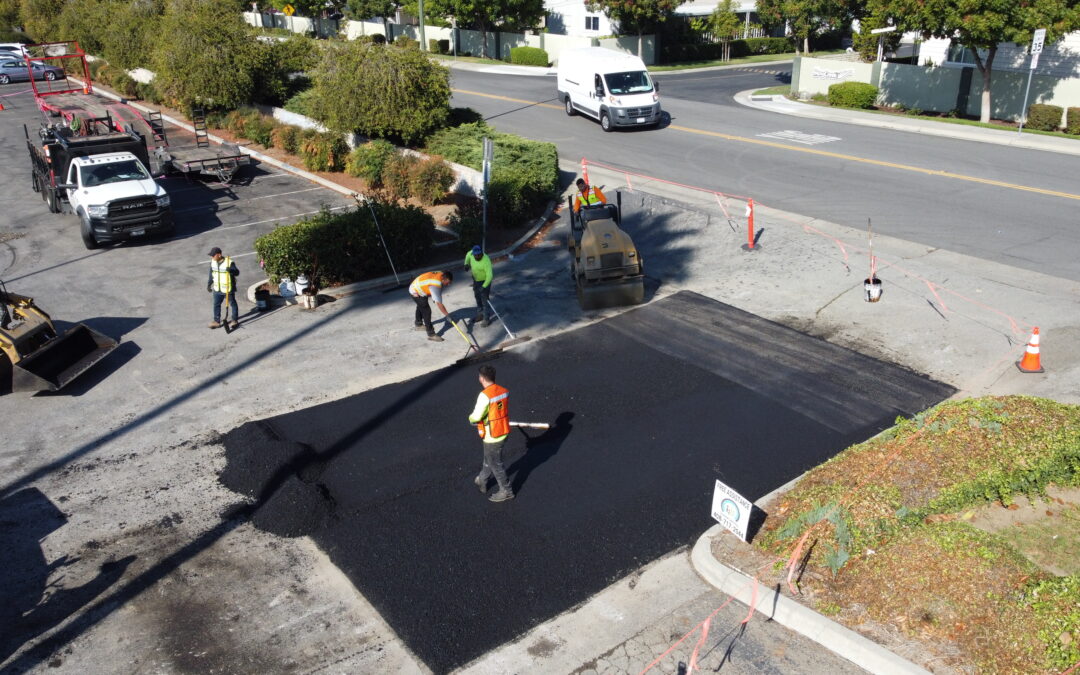
In Sacramento, California, where the weather is mostly warm and the urban landscape is continually evolving, maintaining durable and attractive driveways, pathways, and parking areas is essential. One common question that homeowners and property managers often ask is whether it’s possible to put asphalt directly over dirt. This comprehensive guide will explore the feasibility, benefits, and proper methods of paving asphalt over dirt, ensuring a long-lasting and reliable surface for your Sacramento property.
Understanding Asphalt Paving
Asphalt is a popular paving material due to its durability, flexibility, and relatively low cost. It is commonly used for roads, driveways, and parking lots. However, the success of an asphalt surface heavily relies on the foundation beneath it. A well-prepared base is crucial for the longevity and performance of the asphalt.
The Importance of a Proper Base
Putting asphalt directly over dirt is not advisable because dirt alone cannot provide the necessary stability and support. Dirt bases can lead to a host of issues such as:
- Poor Drainage: Dirt can retain water, leading to moisture buildup that weakens the asphalt.
- Shifting and Settling: Without a stable base, the dirt can shift and settle over time, causing the asphalt to crack and deteriorate.
- Reduced Lifespan: An unstable base can significantly reduce the lifespan of the asphalt, leading to frequent repairs and higher maintenance costs.
Preparing the Site
Proper site preparation is crucial before laying asphalt. Here are the steps to ensure a solid foundation:
- Clearing the Area: Remove any vegetation, debris, and existing pavement. Ensure the area is clean and free of obstacles.
- Excavation: Excavate the dirt to a depth of at least 8 to 12 inches, depending on the expected load and soil conditions. This depth allows for the addition of a stable base layer.
Installing a Sub-Base
A strong sub-base is essential for the stability and durability of the asphalt surface. The sub-base typically consists of crushed stone or gravel. Here’s how to install it:
- Layering: Spread a layer of crushed stone or gravel evenly across the excavated area. The thickness of this layer should be between 4 to 6 inches.
- Compaction: Use a mechanical compactor to compact the sub-base material thoroughly. Proper compaction is crucial to prevent settling and ensure a stable foundation.
Adding a Base Layer
The base layer provides additional support and ensures proper drainage. Asphalt base course (ABC) or a similar aggregate is commonly used:
- Layering: Spread a 4 to 6-inch layer of ABC over the compacted sub-base. Ensure it is evenly distributed.
- Compaction: Compact the base layer thoroughly to achieve maximum density and stability. Proper compaction also aids in preventing water infiltration and erosion.
Installing the Asphalt
Once the base and sub-base are properly prepared, you can proceed with the asphalt installation:
- Temperature and Timing: Ensure the asphalt is laid at the right temperature and within a suitable time frame to prevent it from cooling too quickly.
- Spreading: Spread the hot asphalt mix evenly over the prepared base using an asphalt paver. Aim for a uniform thickness of about 2 to 3 inches.
- Compaction: Compact the asphalt using a heavy roller. Proper compaction is crucial to eliminate air voids and ensure a smooth, durable surface.
- Edges: Pay attention to the edges of the asphalt, ensuring they are well-defined and compacted to prevent future cracking and erosion.
Allowing for Proper Curing
After installation, it’s essential to allow the asphalt to cure properly. Here’s what to consider:
- Initial Cure: Allow the asphalt to cool and harden for at least 24 to 48 hours before allowing any traffic on the surface.
- Full Cure: Complete curing can take several months. During this time, avoid heavy loads and sharp turns to prevent damage to the new asphalt.
Regular Maintenance
Regular maintenance is key to extending the lifespan of your asphalt surface. Here are some tips:
- Sealcoating: Apply a sealcoat every 2 to 3 years to protect the asphalt from water, UV rays, and other environmental factors.
- Crack Sealing: Address any cracks or damage promptly to prevent them from spreading and causing further deterioration.
- Cleaning: Keep the surface clean and free of debris, oil stains, and other contaminants that can degrade the asphalt.
Consulting Local Professionals
While the steps outlined above provide a general guide, consulting with local paving professionals in Sacramento is highly recommended. They can assess the specific conditions of your site, provide expert advice, and ensure the job is done correctly. Local contractors are familiar with Sacramento’s soil and climate conditions, which can significantly impact the success of your asphalt paving project.
Conclusion
While it is technically possible to put asphalt over dirt, it is not recommended without proper preparation and the installation of a stable sub-base and base layer. The success and longevity of your asphalt surface in Sacramento heavily depend on the quality of the foundation. By following the steps outlined in this guide – from site preparation and installing a sub-base to laying and maintaining the asphalt – you can achieve a durable and reliable surface that enhances the functionality and aesthetics of your property.

